How to Install Windows 10 From USB Flash Drive
If you have upgraded your Windows version to Windows 10 and you have no installation disk, then you need to prepare a USB drive to install Windows 10 from USB flash drive. Since, the release of Windows 7, the creation of bootable operating system become relatively easier. Using proper iso extraction tool and suitable USB drive, you can easily create a bootable USB media. The creation of bootable flash drive for Windows XP is relatively difficult and in a previous article I have covered it about creating a XP bootable USB. For Windows 10, you can use any third-party tool including Microsoft’s USB/DVD tool. But before you proceed to the next step, you need a complete ISO file of Windows 10 to make that flash drive bootable with Windows 10.
The users, who have upgraded from Windows 7 and Windows 8.1, can grab the ISO from Microsoft’s store by using Windows 10 media creation tool (download URL: https://www.microsoft.com/en-gb/software-download/windows10 ). This tool lets you download a fresh copy of Windows 10 ISO that is very much needed for a clean install in the future any time. Why does clean install of Windows 10 necessary? Microsoft provides free up-gradation only for one year from the release date of Windows 10. If you have no recovery disk, you need a clean installation if any system damage occurs.

You can create a bootable USB of Windows 10 directly from ‘Media creation tool’. For this, just select ‘USB flash drive’ as your preferred media when you are asked to choose which media to use. Yet, I prefer creating ISO image because I can use it for a long time.
The size of Windows 10 is near about 3.5 GB. So, generally it takes a long time to download Microsoft Windows 10 directly to a USB thumb drive and depending upon the internet speed, the time of entire downloading process may vary. Note that, you need a flash drive of minimum 4gb size. After successfully downloading Windows 10 to a USB flash drive, you are ready for clean installation of Windows 10 to any new computer/PC. You just need the valid and genuine product activation key to successfully activate the fresh installation. In the later part of this topic, I discuss about how to create a bootable USB drive from a downloaded iso. Now, let’s see the installation procedure of Windows 10 direct from the USB, you have just prepared.
Create a Windows 10 USB Flash Drive and Guide to Install Windows 10 Using a USB Device
- Create a bootable USB drive of Windows 10. See the above instructions to create the USB.
- Insert the USB to your PC and restart it. To boot from CD, you need to re-arrange the boot device priority sequence to your BIOS. To enter BIOS setting, press Esc/F12/Del key and re-order the boot device.
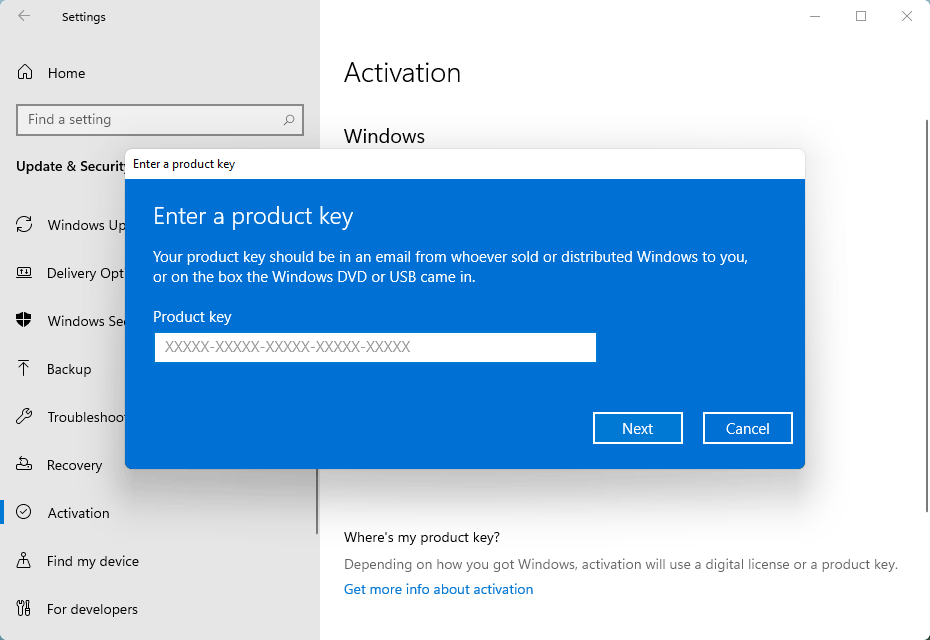
- Then, Windows 10 installation wizard appears and you will be asked for Windows 10 product key. If you have the valid product key, you can use the key. Otherwise, skip the step and forward.
- Then, accept Microsoft’s software license agreement and then choose what type of agreement do you want – upgrade or install Windows 10 only.
- Now, you will see a list of available partitions. Select one of the available primary partition and continue the installation. During the total installation process, your PC will restart 2-3 times. Whenever, you will be asked for entering the product key, just bypass it by pressing “do this later” option.
- At last, choose your Windows account preference and you will arrive at the desktop window of Windows 10 OS. That’s it.
By following the above steps, you can install Windows 10 from a USB drive without using any third-party software and for this you do not require any ISO file of Windows 10.
Learn How To Prepare Windows 10 OS For USB Using Command Prompt And Install It To PC
If you are a Windows 7, Windows 8 or Windows 10 user and want to upgrade your PC by installing Windows 10 on it, you need a USB drive and make it bootable.
Requirements:
- A USB drive of 4gb.
- Windows 10 ISO or Windows 10 DVD.
- A working Windows 7/Windows 8/Windows 8.1 PC.
If you use Windows 10 32-bit OS, you can’t prepare a bootable Windows 64-bit USB by using it. But, if you use Windows 10 64-bit OS, you can create both of the Windows 32-bit and Windows 64-bit USB device by using command prompt.
Install Windows 10 from USB Drive:
- Unplug all the connected USB device from your PC. Make a back up of all data from your USB device. Then connect the USB to your PC.
- Open command prompt with administrative privilege. It is very important that you run the command prompt only as admin, otherwise, you may get error.
- Use the following command one by one –
diskpart,list disk,select disk 1*,clean,create partition primary,select partition 1,active,format fs=ntfs quick,assign,exit - Minimize the command prompt and proceed to the next step.
- Right click on the ISO image of Windows 10 and select ‘mount’ option to mount the ISO file. Open ‘This PC’ and note the drive letter of it (if you are a Windows 8/8.1 user). Windows 7 users do not get mount option and they need any ISO mounting software like ‘VirtualClone software’ for that. In this tutorial, we assume that the drive letter of the virtual drive is K:\. If you use CD/DVD, then you can use the drive letter of the optical drive.
- Maximize the command prompt Window and use the following command:
K: CD BOOT,CD BOOT,BOOTSECT.EXE /NT60 L:**. - When you see the command “Bootcode was successfully updated on all targeted volumes”, close the command prompt window.
- Copy all the content of the Windows 10 ISO and paste it to the root of USB. Either you can copy files from the mounted drive or you can extract the Windows 10 ISO file contents to the USB.
- Now, your USB drive is ready to boot and install Windows 10 to a PC. Just, you need to re-order the boot device priority and select the option “boot from USB” as first boot device priority.
- Now, install Windows 10 as per on-screen instruction.
*Disk 1 – serial number of the disk.
**L stands for drive letter of USB drive.
Install Windows 10 to Flash Drive Using Third-party Software
So far, I have described different ways of creating bootable Windows 10 flash drive without using any third-party software. But this time I use ‘Rufus’ tool to create bootable USB for Windows 10. ‘Rufus’ is a free utility to create bootable USB drives in a very simple way. Lets see how to use ‘Rufus’ and create bootable USB to install Windows from USB on a PC.
Requirements:
- Desktop of minimum 1GHz processor, 1GB RAM, 2GB RAM for 64-bit installation, 16GB hard drive free space.
- 4GB USB flash drive for 32 bit and 8GB USB flash drive for 64 bit pc.
- ‘Rufus’ free tool.
Steps are as follows:
- Download ‘Rufus’ from the following link:
http://rufus.akeo.ie/ - Download Windows 10 ISO from this link:
https://www.microsoft.com/en-gb/software-download/windows10 - Insert to flash drive to PC and run the ‘Rufus’ utility.
- Rufus can detect the USB drive automatically.
- Tick the checkbox that shows “create a bootable disk using ISO”.
- From the drive icon, browse and select Windows 10 ISO.
- Press ‘Start’ button in order to prepare USB drive and install Windows 10 direct from a USB thumb drive.
In this tutorial, I have described the method to install Windows 10 from USB drive. This tutorial helps you a lot to fulfil your queries. For any further assistance, drop a comment and read our another helpful topic: You should not upgrade your PC to Windows 10 -but why?
Related Posts

How to Activate Windows 11 Copy for Free with Windows 10 Key

How to Enable Microsoft Virtual WiFi Miniport Adapter and Setup Wi-fi Hotspot

How to Export and Backup Outlook Contacts to Your Windows PC
About Author
Jit Dutta
Jit Dutta is a web geek who loves to write articles related to PC and the Internet which helps common people to solve their problems and queries. Email: jit[at]techperdiem.com